We all know how important backing up your computers are, especially if you don’t want to lose any of your data. Here at Doztech, we recommend two backup solutions, like backing up to SkyDrive or cloud drive. The first is locally, so you can access your files quickly. The other is offsite. Either a backup solution to the cloud or backing up your data to an external hard drive and sending it somewhere. None the less, the first solution we will talk about is a local backup solution on Mac OS X. Mac OS X has a built-in featured called Time Machine. This allows you to backup all of your data on Mac OS X without losing anything. Here is how to configure Time Machine on Mac OS X.
Perquisites
Before we show you how to setup Time Machine, we want to make sure you have a few items in the order.
- Mac OS X 10.5 or later
- A hard drive or partition that is connected to the Mac and formatted as Journaled HFS+ or an Airport Time Capsule.
Once you have these two ready, you can begin setting up Time Machine.
Setup Time Machine on Mac OS X
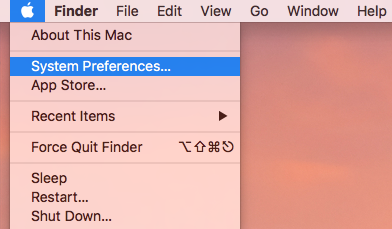
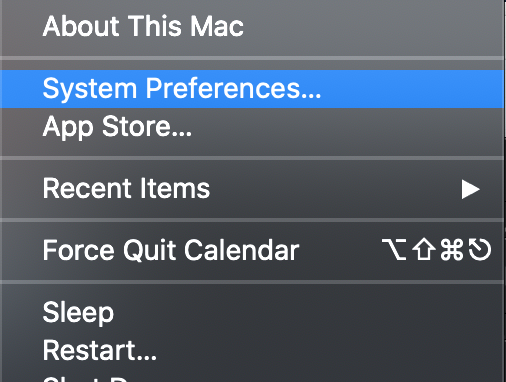
Plug in your hard drive into your Mac or make sure your Airport Time Capsule is configured and ready. Go to your Mac and click the Apple icon in the upper left-hand corner. A drop-down menu will appear. Click on System Preferences from the menu.
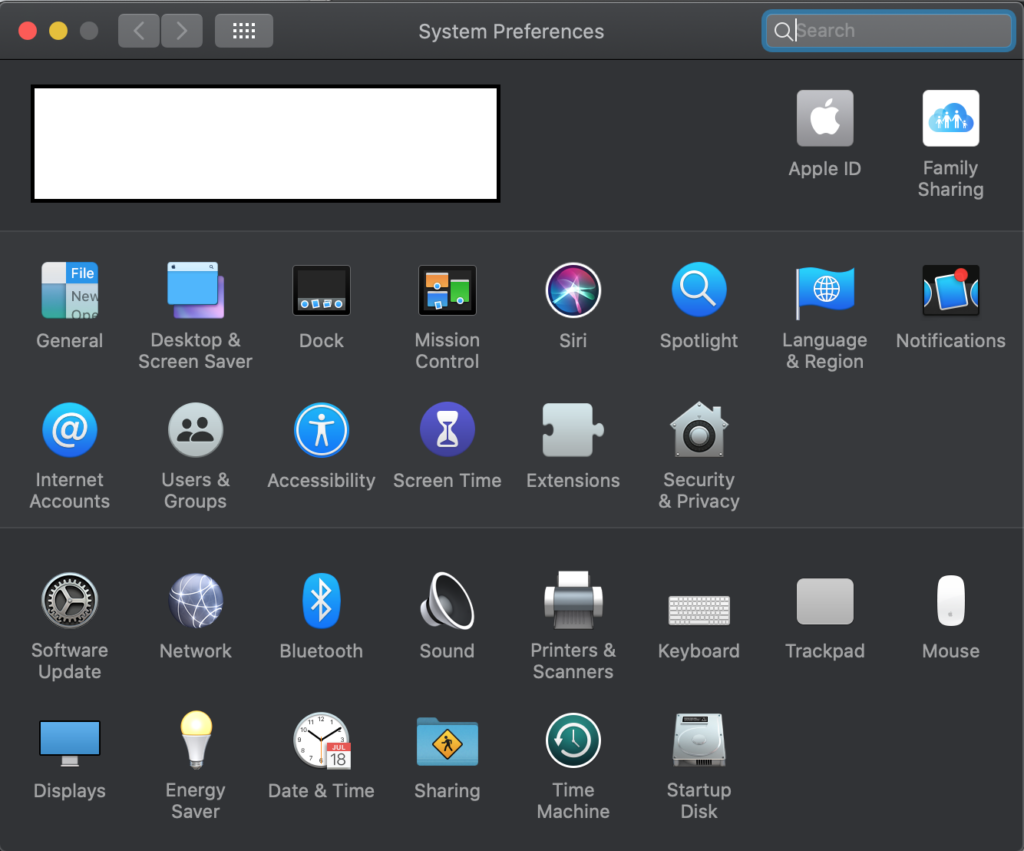
The System Preferences window will open. Locate the Time Machine menu item. It is on the 4th row. Then click on Time Machine.
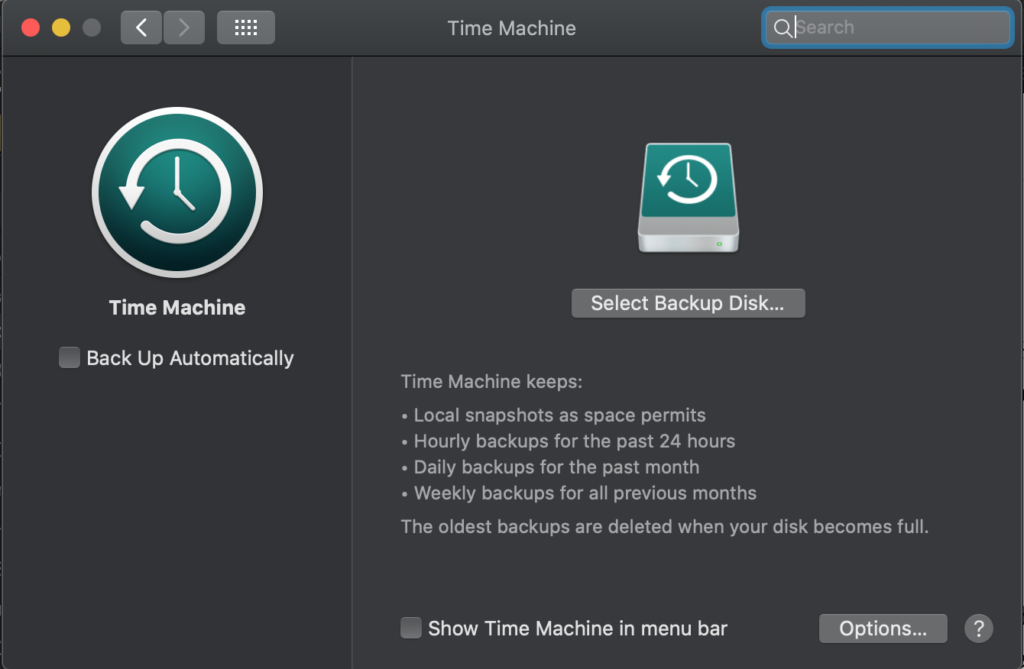
The Time Machine setting window will open. Here is where you will configure Time Machine and select the backup disk. Click on Select Backup Disk in the right pane.
A drop down will appear. Here you can select the connected hard drive. If you don’t see your Airport Time Capsule or Backup Disk in the list, click the Other Time Capsule to locate it. When you are done selecting your backup disk you may want to check the box next to Encrypt backups. Encrypting your backups will prevent anyone from reading the data from the backup disk if it is stolen. It is always good to enable encryption so click the checkbox. When you are ready click the Use Disk button to continue.
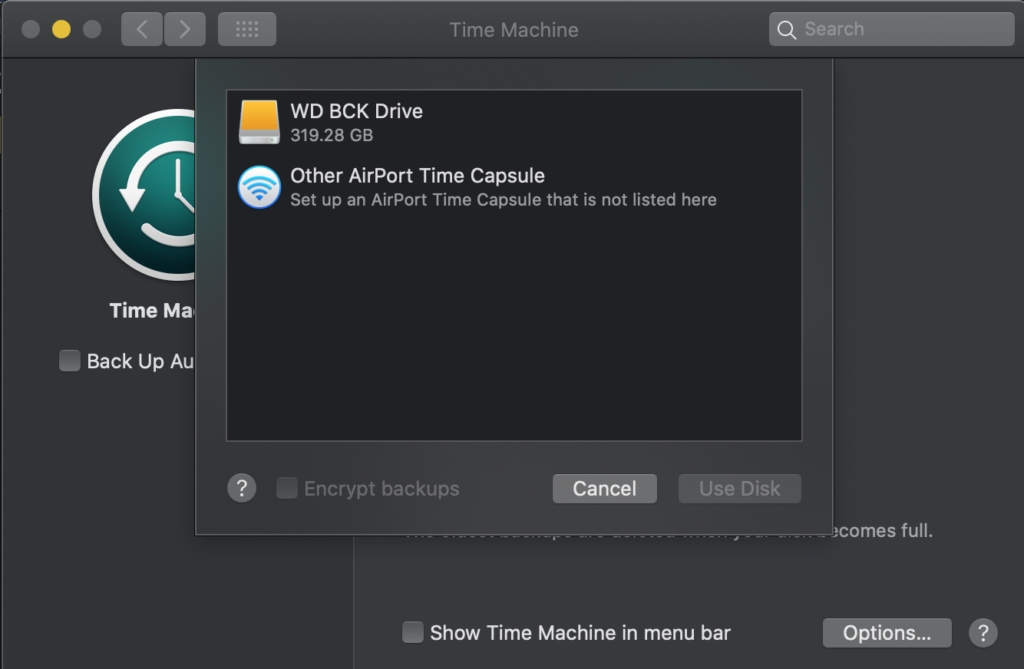
You will be taken back to the main Time Machine window. Here you should see your backup disk selected and Time Machine turned on. Towards the bottom right of the Time Machine settings click on the Options button.
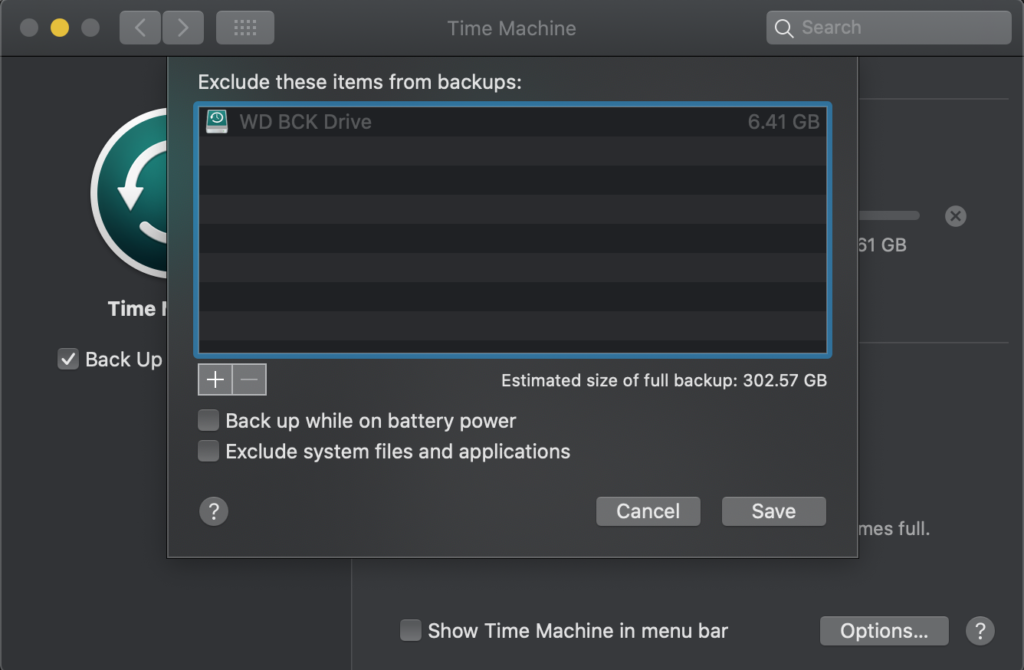
A pop-up window will appear. Here you can add or remove the backup disk from Time Machine. This comes in handy when you get a new drive or if you want to remove an old backup disk. This option menu also lets your turn on or off the notification when old backups are deleted. Whenever Time Machine backup disk is full, the old backups are deleted first. You can leave the checkbox checked if you want to see these notifications. When you are done configuring the options for Time Machine click Save.
Go ahead and close the open windows. In your menu bar you should see a new icon like the image below. Click on the icon. This is a shortcut to Time Machine. Here you can see the current status of your backup disk, do a full back up now, enter time machine, or look at Time Machines preferences.

We will talk a little more about entering Time machine later, but for now you are ready to go. Time Machine will automatically backup MacOS X entirely. What software do you guys use to backup Mac OS X?
